Hey everyone! Firstly, I'm sorry for the lack of posts lately; things have been busy again and are only going to get busier, so I may not be able to post as much as I would like to. Once school starts at the end of August, I'm going to at least try to post twice a week. We'll see how everything goes.
Secondly, I hit 50 followers a few days ago! That's my first milestone, yay!! Thank you all so much for coming back to see what I've been up to and for supporting my craziness. You're the best. :)
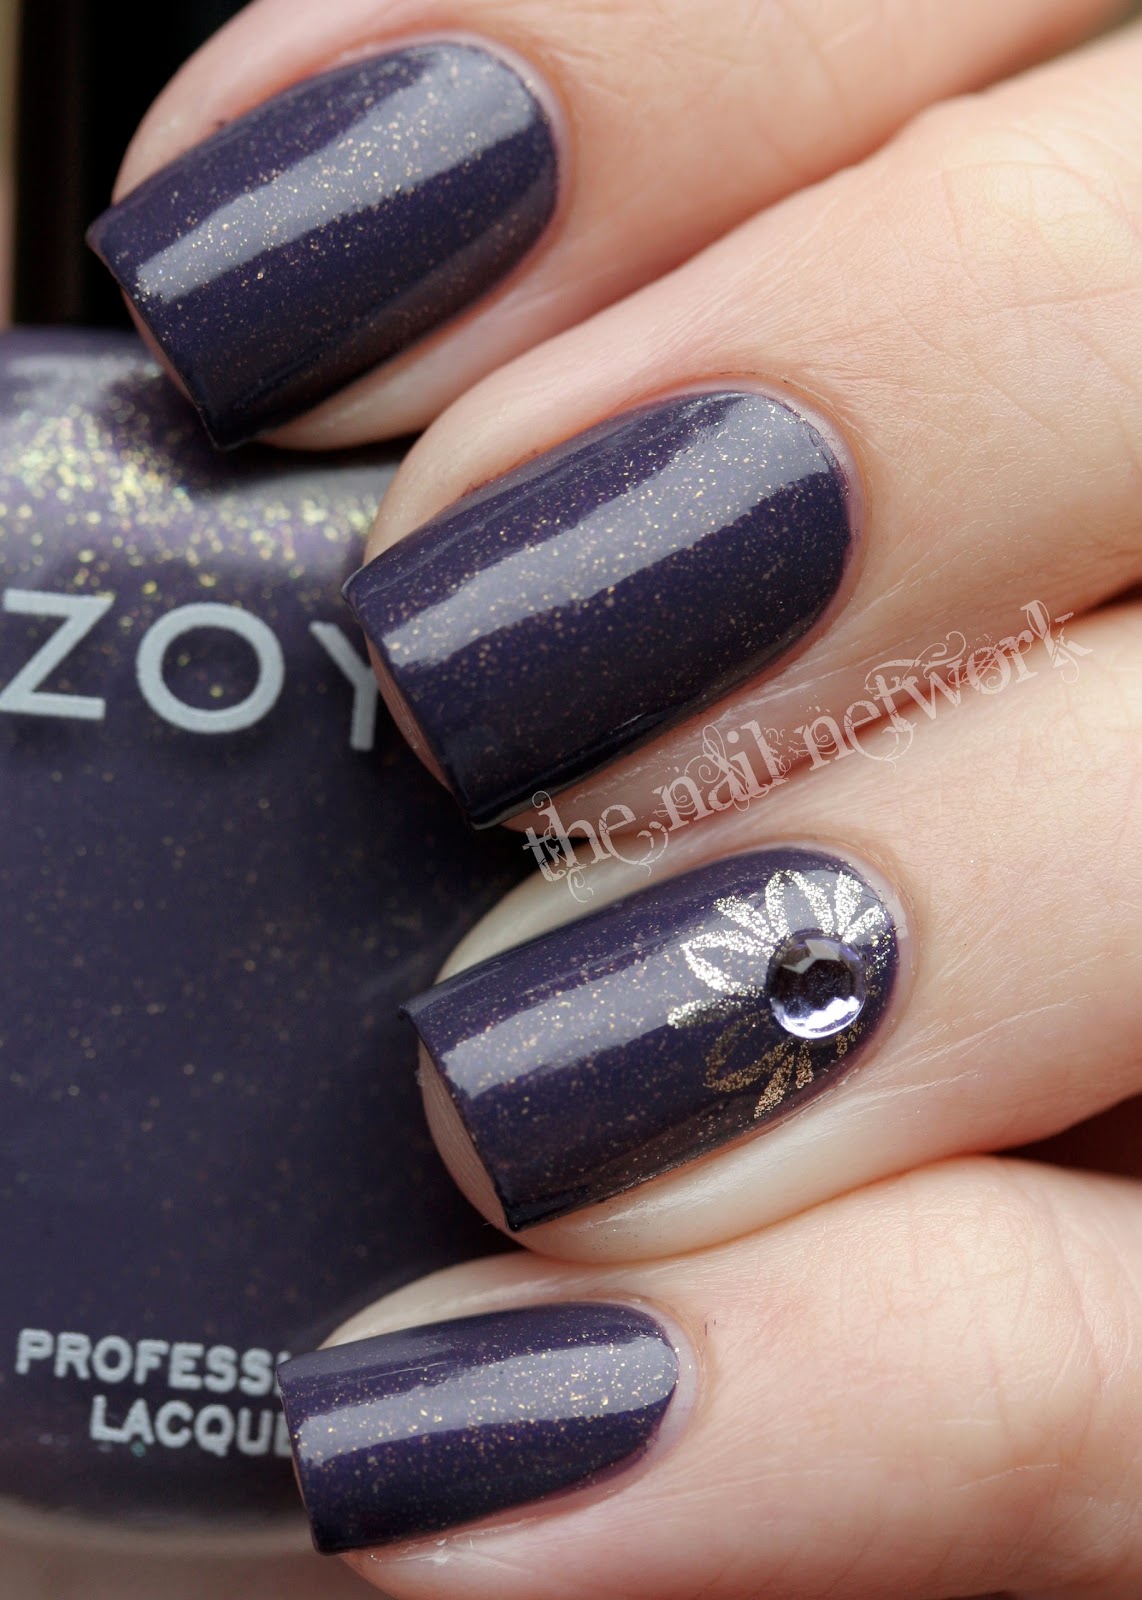
Thirdly, here is the nail post for today. I have been letting my nails breath a day or two in between painting them because they've been getting kind of peely and unhealthy, so last night I was sick of seeing them naked and decided it was time to paint them again. I did a french manicure using Confetti
Pink Paradise as the base and China Glaze
White on White and
White Cap for the tip/sponging. I stamped a flower with Orly
Luxe and added yellow/gold rhinestones to my ring and thumb nails. I feel so fancy! 8)
Yes, there is a hair on my pointer nail. Ugh. And the only thing I don't really like is that the flower stamp I chose kind of reminds me of a snowflake... not a fan right now.
Also, one of my fans on Facebook requested a cupcake mani and I just wanted to let her know that I haven't forgotten about it! I have an idea in my head, I just need to sit down and do it! Hopefully I will be able to get that done and post it soon. :) Thanks again!