Showing posts with label guest post. Show all posts

Friday, September 7, 2012

Guest Post: The Do It Yourself Lady Shares a Riveting Funky French Mani

Hello gorgeous peoples over here on The Nail Network. I'm Lizzy, also known as The Do It Yourself Lady. Chelsea and I are members of a group on Facebook and when the opportunity to write this blog post came up, I was totally "fan-girl-ing" and jumped on the offer. The Nail Network is one of the blogs I run to when I'm looking for color accurate swatches, and I enjoy the straight-forward writing always done by Chelsea. 

The moment I committed to writing this blog post, I knew I would use one of my un-used polishes that I'd been longing to use but never a chance to use. It's China Glaze - Riveting. 

Figuring out the polish to use was the easiest thing, but deciding exactly what to do with the polish was another task. Lol... At the end of the day, I chose to do a 'non-traditional' french tip. I say Non-traditional because it's not a "white tip". 


 I began this mani by using Kleancolor - Calcium as my base coat. Then I used one coat of OPI - Care to Danse. I then made the tips with China Glaze - Riveting, without nail guides, because I knew the lines wouldn't show since I planned to apply rhinestones. If I wasn't going to use rhinestones, I would have used tape or a french tip guide to create a clean line for my french tip.


After I placed the rhinestones on my nails, I used two thick coats of my favorite topcoat. Color Club Topcoat - The ones that come with the sets that are sold at ROSS. They are super fast drying and glossy! :-)


Well, that's it for now darlings. 

I'm glad to have been able to share this mani with you all today. I really enjoy doing colored french tips, and rhinestones always add something extra to a mani.:-)

Once again, Thanks for having me on your blog Chelsea. I hope unpacking and house cleaning is going well for ya. 

Lizzy, thank you so much for the post and the kind words! I would like to send out internet hugs to all five of my guest bloggers this week. Thank you all for helping me out and sharing yourselves with my readers! Readers, I sincerely hope you enjoyed this week and get ready for regular posting again on Monday! :)

Thursday, September 6, 2012

Guest Post: College Polished Gets Fierce With a Skittle Mani!

Hey everyone, please welcome Kim from College Polished as our guest poster today! I hope you guys are enjoying these posts as much as I am! Kim has a fierce mani to share with us today :)
Hi dolls! I’m so honored to be guest posting for Chelsea seeing how obsessed with her blog I am! Today I’ve got a pretty, yet simple mani with a little bit of free-hand nail art inspired from an interesting source. Let’s jump right in!
For this mani, I used Nina Ultra Pro Black for the cheetah spots, Essie Cascade Cool, Black Cat Lacquer ­Let Them Have Cake, China Glaze For Audrey and Sinful Colors Unicorn. 
The inspiration from this manicure actually came from a new bathing suit I just picked up from Victoria’s Secret. I saw it and immediately went “Oooooh, this would look great as a mani.” That being said, I had to jump on it ASAP!
I used two coats each of Cascade Cool, Unicorn and For Audrey and three coats of Let Them Have Cake. There’s still a slight VNL which could easily be covered by using a base coat or maybe a few more coats, but personally I love how it looks!
Cheetah print is probably one of my most favorite types of nail art for two reasons – 1) it’s insanely easy and 2) I’m obsessed with all things cheetah. No. Really.­ All you have to do is use a dotting tool or even toothpicks to make small dots in each color you want. Next, you can use either a smaller dotting tool or another toothpick and draw little curves around the outside out the dots to look like cheetah spots! Aaaaand you’re done. Quick, easy, and beautiful! Now if getting ready in the morning could only be that easy ;)
That’s all from me today, huge thanks again to Chelsea for letting me guest blog for her! Please feel free to check out my blog (collegepolished.com) and Facebook page (facebook.com/collegepolished) as well!

Wednesday, September 5, 2012

Guest Post: A Makeup Brush Lesson from Beyond Beauty Lounge!

Please join me in welcoming Mercedes from Beyond Beauty Lounge as our guest blogger today! She will be giving us a great introduction to the world of makeup brushes that I hope you will enjoy! 

Hey dolls, so first off I have to thank Chelsea for the opportunity to write a guest post on her blog. As you know from following her, Chelsea has starting writing more posts about her venture over to makeup, so I thought a quick introduction to some basic makeup brushes would be suitable. Not everyone wears foundation so I thought more of you could benefit from post about eyeshadow brushes, so here we go.

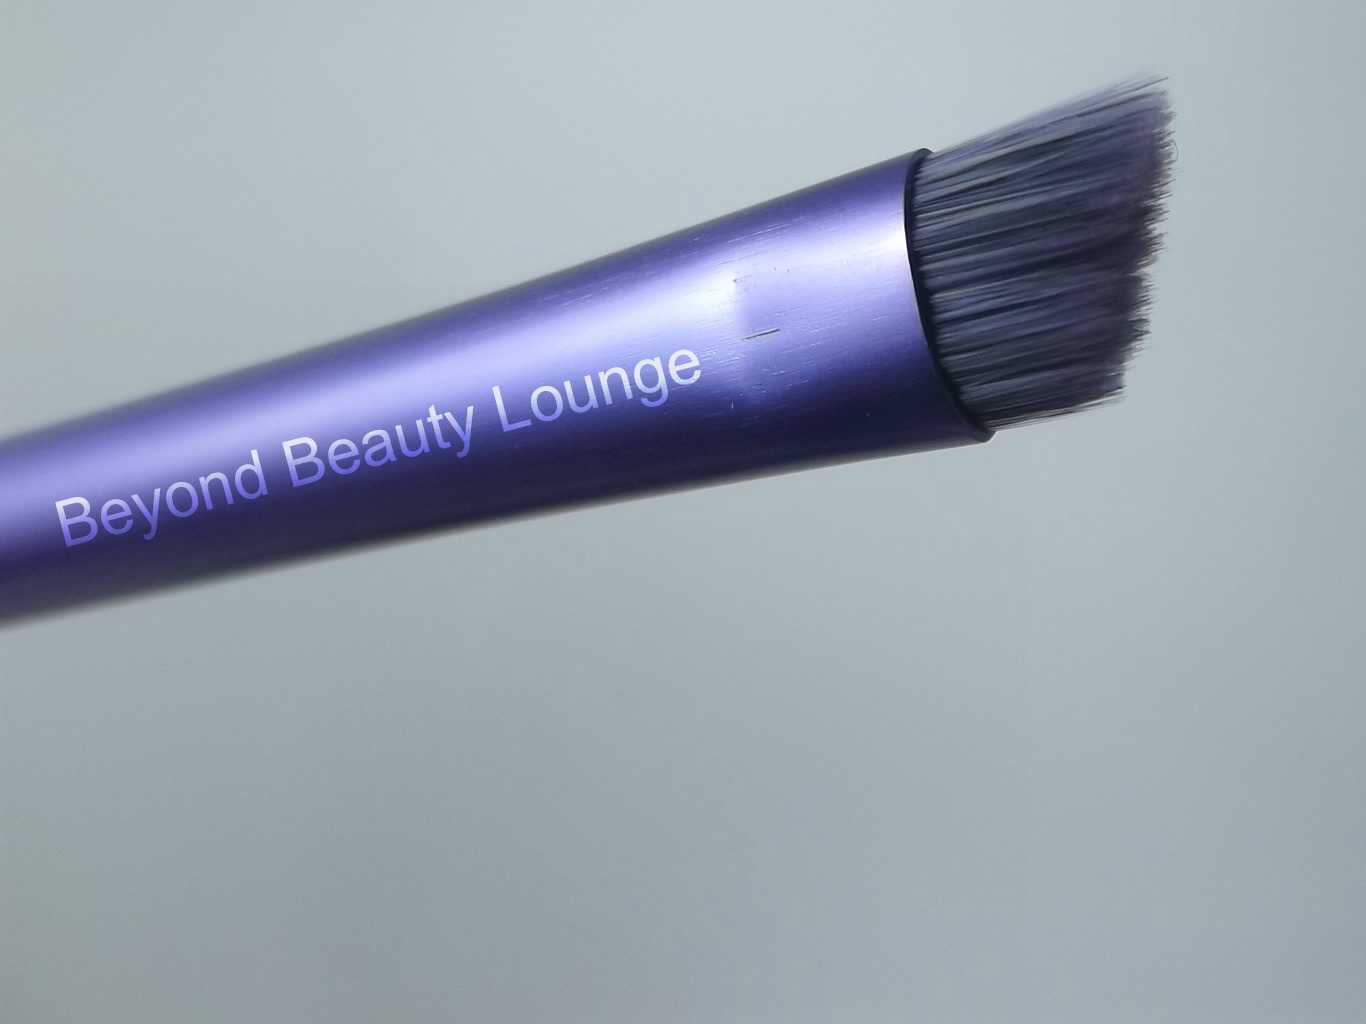
There are many choices in brushes from high end to low end and everything in between.  Not to mention all the different shapes it’s all just so much, right?  You may look at all the varieties and just think are all these really necessary? The quick answer for most people is no. So today we are going to focus on five basic eye brushes from Real Techniques. 


I really like the brushes from Real Techniques, the brushes are very affordable, good quality, and are made from the synthetic fiber taklon, so they are vegan and allergen free.  No joke these are some of softest, fluffiest brushes I have ever used. I have no problem with shedding with these and they wash well. Let’s face it not everyone needs or can afford brushes on the high end, some basic high end brushes are around $60 each, aacccckkkkk. Real Techniques brushes range in price from $6 - $10 for individual brushes with most sets priced around $18 so these are a great value.  The type of brush you use combined with technique can make a huge difference in the overall look or your makeup. My best piece of advice for a beginner is to invest in some brushes, start small if you need to but do yourself a favor and take that sponge applicator thing that comes with your eyeshadow and throw it away. Even if you only buy one eyeshadow brush get rid of the sponge tip applicator, you will thank me later.

This eye brush starter set retails for $17 and is available at Real Techniques.com,  Ulta, amazon.com and drugstore.com and contains five brushes.

Base Shadow Brush: This is the basic brush to apply color to the lid; 


Deluxe Crease Brush: This brush is for contouring or applying color to the crease of the lid;


Accent Brush: This brush is for detailing, highlighting and smudging. I also use this one to apply color under my lower lashes. It can also double as a concealer brush; 


Eyeliner Brush: This brush is for applying eyeliner and can also be used to soften the harsh line that is present when using pencil eyeliners; 


Brow Brush: This brush is used to fill in eyebrows but can also be used for eyeliner: 


In my opinion the base shadow brush and the deluxe crease brush are must haves. They deposit color nicely and make blending effortless.

Real Techniques brushes are on sale this week at Ulta for buy one get one 50% off + you can use your $3.50 off a $10 purchase coupon so this week is  a great time to snatch these up! That would bring this set down to $14.49: a steal.

What is your go to brush for applying your eyeshadow; do you use a brush, a qtip or maybe even your fingers?

Tuesday, September 4, 2012

Guest Post: Polished Cousins Reviews Cult Nails Scandalous!

Hello everyone! Anna here from Polished Cousins. I'm so excited to be doing a guest post for Chelsea today. Seriously, The Nail Network is one of my favorite blogs. If you're not familiar with our blog, there are three of us who blog together about our love for all things lacquer! And, duh, we're cousins. :)

Today I wanted to share with you one of my new favorite polishes, Scandalous from Cult Nails. Scandalous was originally offered as part of the "Divas and Drama Collection" this year. Simply put, it's a gorgeous coral jelly. It doesn't get much shinier than this! I picked up Scandalous in one of Cult Nails sales. All of the polishes regularly retail for $10 a piece plus shipping. Every now and then Maria, the genius behind Cult Nails, hosts a sale and that's when I jump in for a bargain. I got this shiny beauty for $7!


I used Essie Fill the Gap! base coat, three coats of Scandalous and my favorite HK Girl topcoat.

Pros- The color is beautiful, the finish is SHINY and I just couldn't stop staring at it for the 3 days I wore this mani. 
Cons- I had to use three coats to get full opacity and there's still a little bit of VNL (visible nail line). I love a good VNL but I know there are plenty of you who don't. Maybe layering this over a nude base would be better to protect against VNL.
Overall- This is easily one of my new favorite polishes. I'm pretty excited that it's not limited edition because I think I might go buy myself a back up bottle. I didn't expect to love this color so much!


Be sure to follow the Cult Nails blog and Facebook pages to keep up with the newest collections and sales.

And a big thank you to Chelsea for the opportunity to guest blog for you today!

Thank you so much for your post, Anna! How did you know that I am obsessed with coral?? *runs off to add Scandalous to wish list...*

Monday, September 3, 2012

Guest Post: Tall Girl in Heels Shares a Jelly Sandwich!

Happy Monday and Labor Day everyone! I moved into a new house over the weekend and have been very busy unpacking and organizing, so unfortunately I don't have any posts of my own to share with you this week. Thankfully, I was able to wrangle up some awesome guest bloggers for you! There are be five bloggers who graciously agreed to write up guest posts for me, so I hope you will enjoy what they have to share and will check out their pages as well! Have a great week! :D

Hello readers of The Nail Network. My name is Tamala from Tall Girl In Heels. Today, I'm happy to be guest hosting for Chelsea. I want to share a pretty jelly manicure I did. I have really been in love with Jelly sandwiches, lately and thought this one would be perfect to share with The Nail Network's readers.

If you are unaware of what I'm referring to, it is when you take a Jelly polish and layer a glitter polish and sandwich it with another coat of jelly polish. The jelly polish I'm using for my sandwich is Zoya Paloma. I reviewed Paloma here. Paloma is a one of Zoya's buildable jellies from the Fall 2012, The Gloss Collection. She is also my favorite of the three from this collection.


The glitter I chose to use is Spoiled Trust Fund Baby. Trust Fund Baby has fuchsia, blue, black and gold glitters suspended in a clear base.

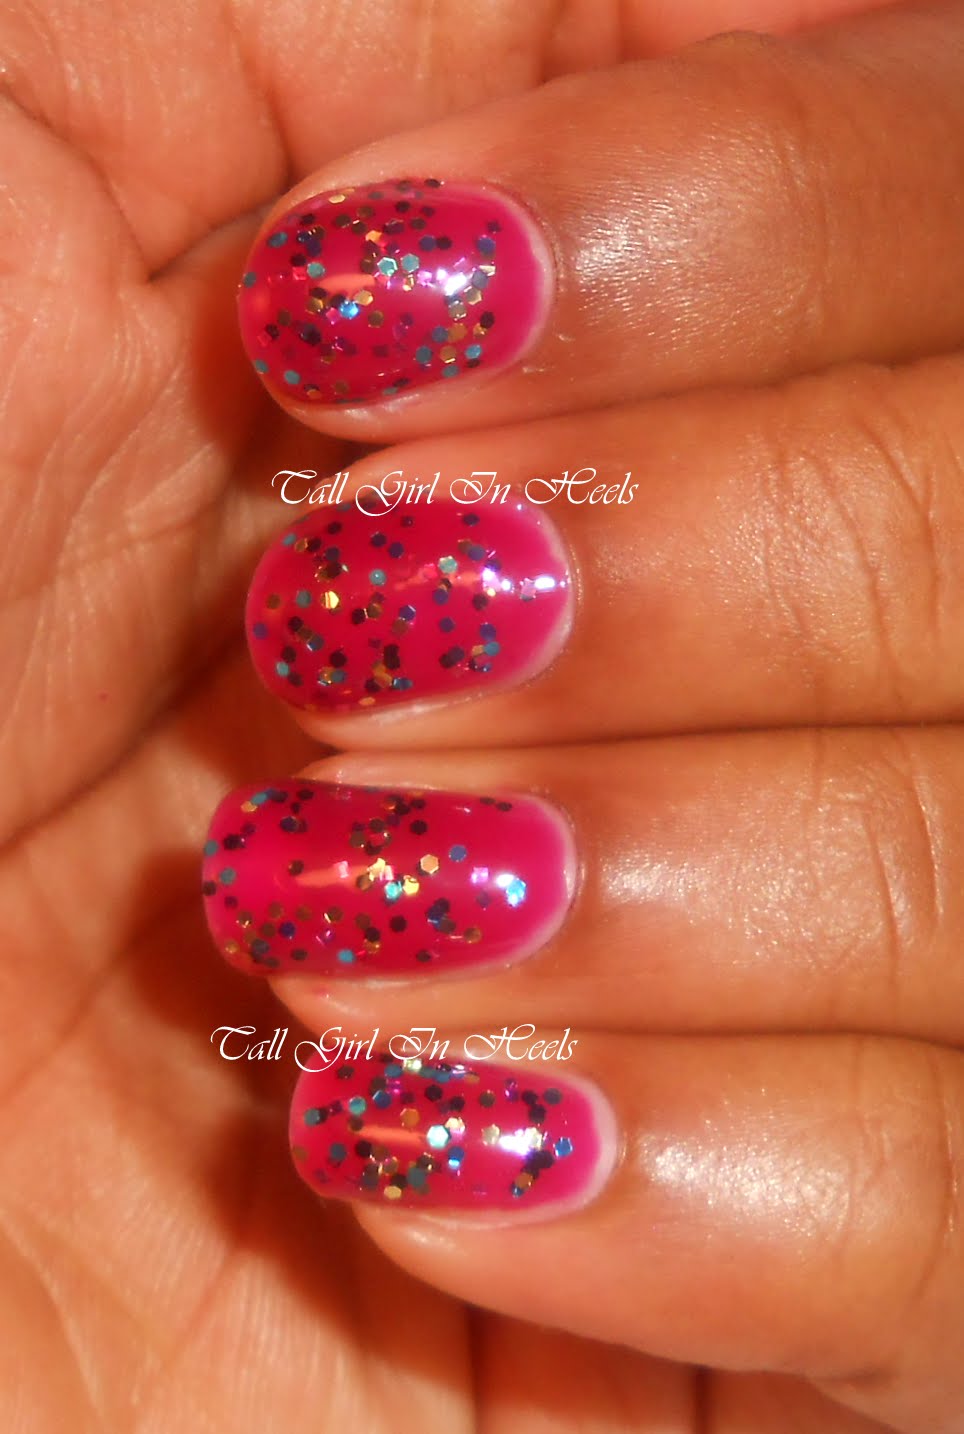
Here is the picture of two coats of Paloma with a two coats of Spoiled Trust Fund Baby.


I chose Trust Fund Baby to layer over Paloma because I thought they would compliment each other.

Trust Fund Baby layered over Paloma with no issues at all. I will say when doing a jelly sandwich make sure each layer is dry completely. You don't want to smudge the layer below  because you were rushing.

Next you will add one coat of Paloma on top. This manicure has depth, the glitter seem to look suspended in the polish as if it were one polish. I really like the look of this. The below picture shows the comparison of leaving the glitter on top and the sandwich.

Take a look:


Which look do you like best?

Here's the completed manicure:


One tip I learned while doing this manicure is to use very thin coats. You are using so many coats of polish and you want to make sure that each coat dries quickly and completely. Also, add a fast dry top coat. The manicure will be dry to touch, but not entirely dry. Just be careful and allow ample dry time and you'll be great!

What do you think you this "Jelly Sandwich" look? I hope you enjoyed this post.

 I can be found on Facebook, Twitter and Pinterest. My blog is Tall Girl In Heels.

Thanks for reading,
xoxo -Tamala